How to Take Your Own Professional Photos for Instagram
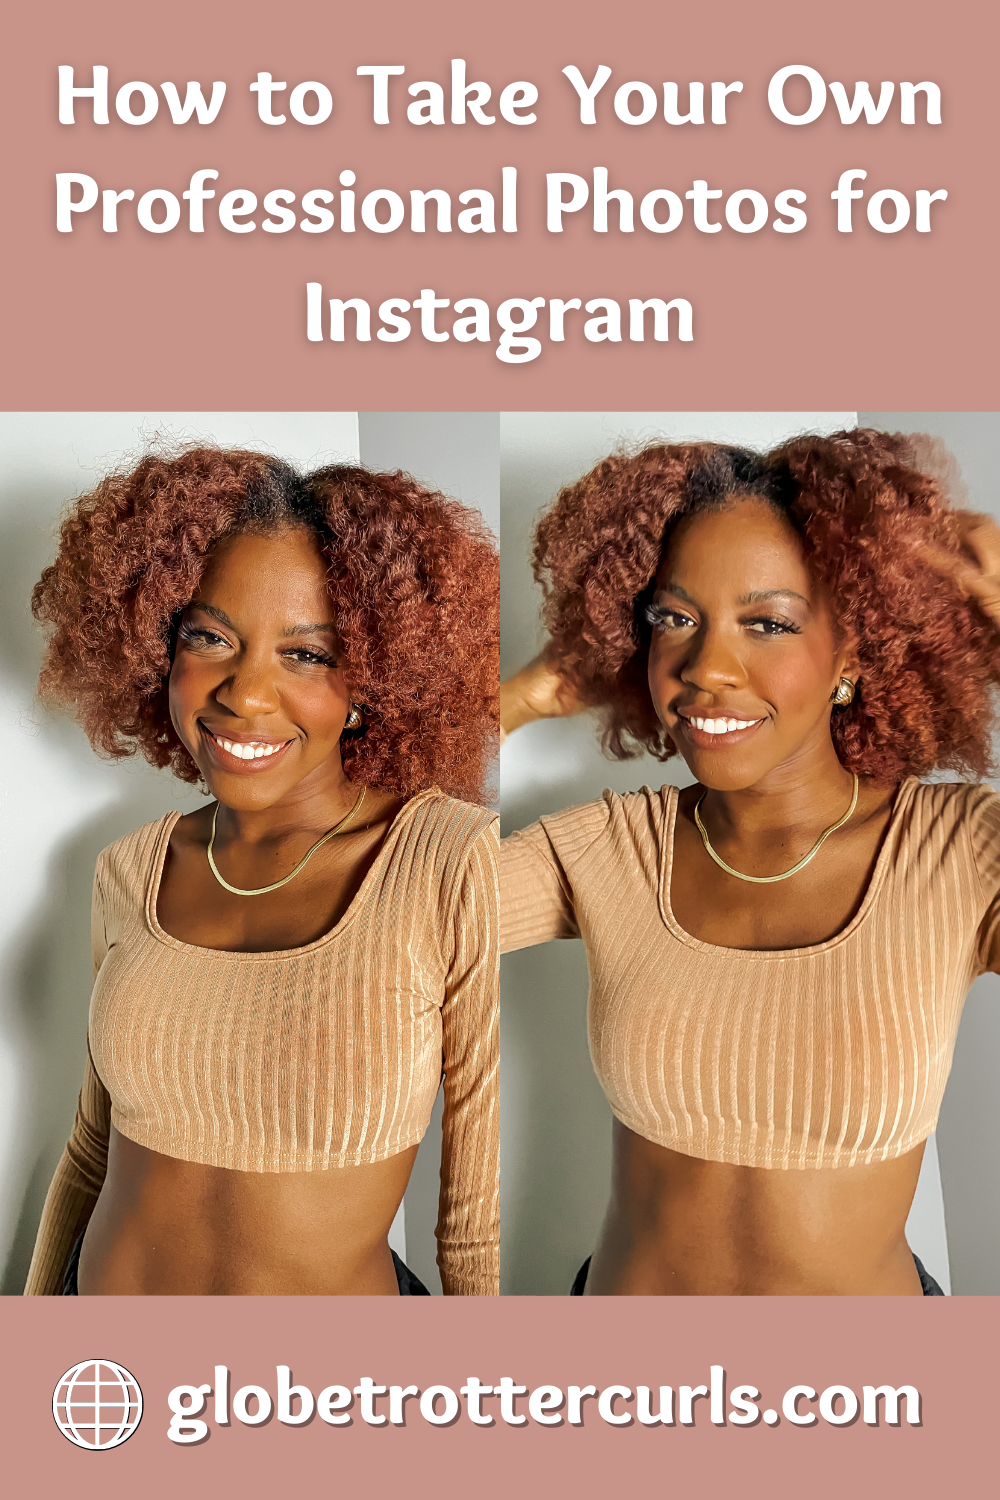
If being in quarantine taught me anything, it was how to be fully self-sufficient as a “content creator.” The past six months I started taking my content seriously by putting in effort, time, and creativity behind what I posted. I want to share with you all how I’m able to take the best pictures all by myself for instagram and other social media platforms.
This you will need:
Updated iPhone camera or DSLR
I like using my Nikon D3500 for pictures when I’m planning a shoot because it gives me the best flexibility when editing.
Tripod with a bluetooth remote
This will be used like someone is behind the camera snapping photos of you. Simply sync is up with your phone or camera (you can also use your camera as the remote with apps) and start snapping away.
Tripod option #2 (cheaper)
Tripod option #3 (even cheaper)
Lighting
Sunlight is great but I suggest investing in box lights and/or a ring light for more options
DIY Backdrop
This is all up to you but to change things up you can use fabric from the store or anything you have laying around like blankets or bed sheets to give you that aesthetically pleasing background.
Confidence
I often get asked the question how I grew to be so comfortable and confident in my skin. I have to say that the more you practice the more comfortable you will get in front of the camera!
Editing
This is one of the most important parts of self photography aside from lighting and camera quality. You can use your iPhone photo settings if you’re a beginner or get into Adobe Photoshop and Lightroom to learn how to make your photos truly pop.
And those are my tips and tricks into how I take my photos for Instagram! Be sure to subscribe to my YouTube channel to watch my video break down on how I take my photos and leave me a comment if you enjoyed this post!