How to Silk Press Natural Hair at Home
Nowadays, individuals can create natural hairstyles in the comfort of their own homes. This can be achieved by utilizing the appropriate tools and techniques, eliminating the need to visit a salon. Previously, intricate hairstyles that required assistance can now be easily accomplished independently. Complicated hairdos that used to need help can now be done easily by oneself. Popular styles for coily and kinky hair such as twist-outs, knotless box braids, and silk presses can now be done at home.
If you want to achieve a silk press and maintain it without the use of chemicals, we've got you covered. In this guide, we'll explain the steps involved in getting a silk press and provide tips on how to keep it frizz-free and straight.
This blog post may contain affiliate links, which are at no cost to you. It just helps support me so I can continue to put out free content for you like this! Thank you for your support!
WHAT IS A SILK PRESS?
A silk press is a hair straightening procedure that doesn’t involve chemicals. The natural hair is washed, blown out, and then "pressed" using a flat iron to obtain a silk press. The name comes from the smooth and silky texture that the technique leaves on the hair.
Start On Freshly Clean Hair
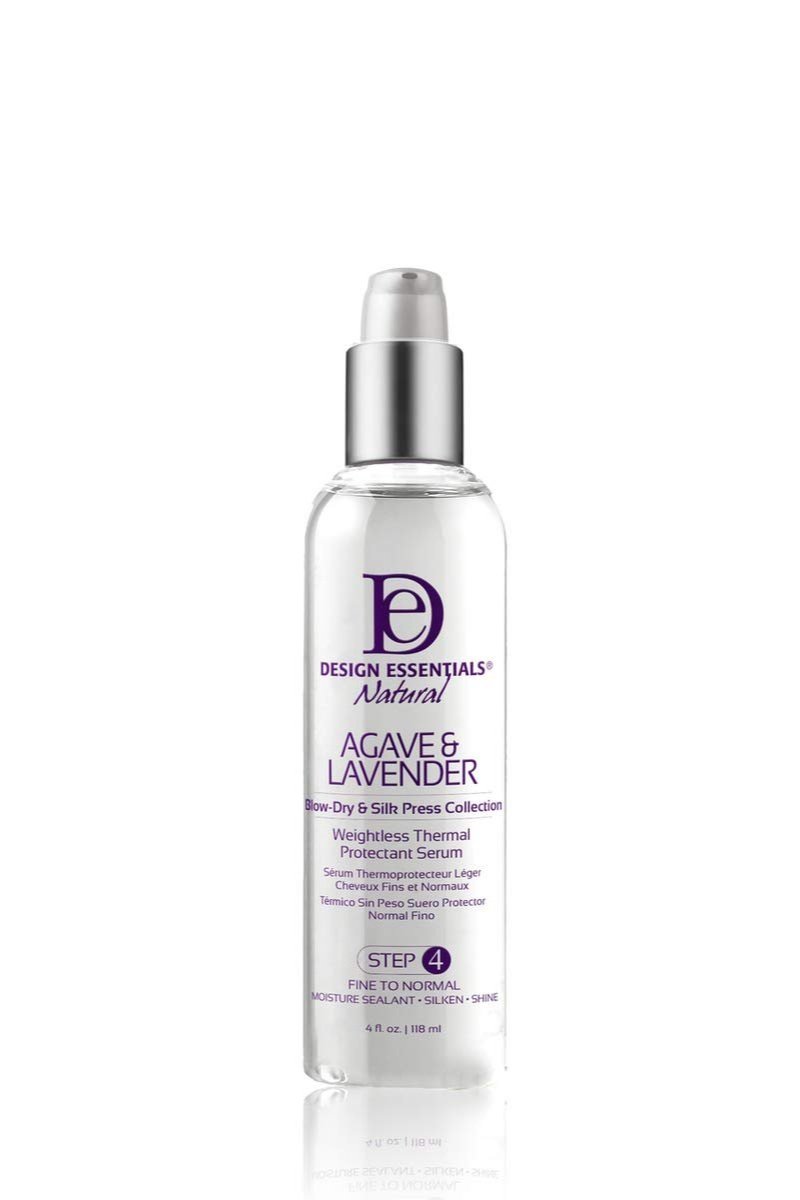
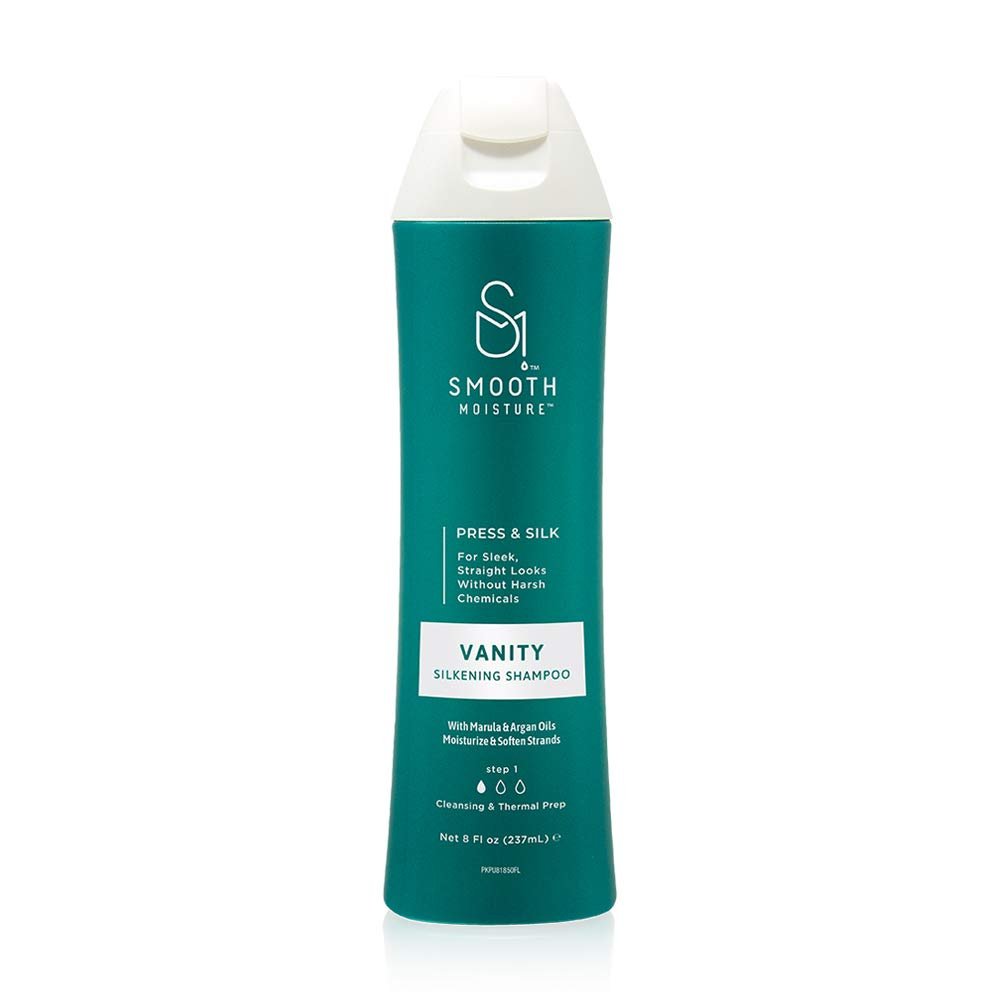
A clean scalp and hair will make all the difference in how well your silk press turns out. It's common to add moisture to curly hair, but the opposite is true for straight hair. For shampoos/cleansers, I look for products that essentially strip my hair of all dirt and oils. Design Essentials Natural Agave & Lavender Shampoo and SmoothMoisture Silkening Shampoo effectively cleanses hair without causing excessive dryness or brittleness.
2. Prep Your Hair For Heat Styling
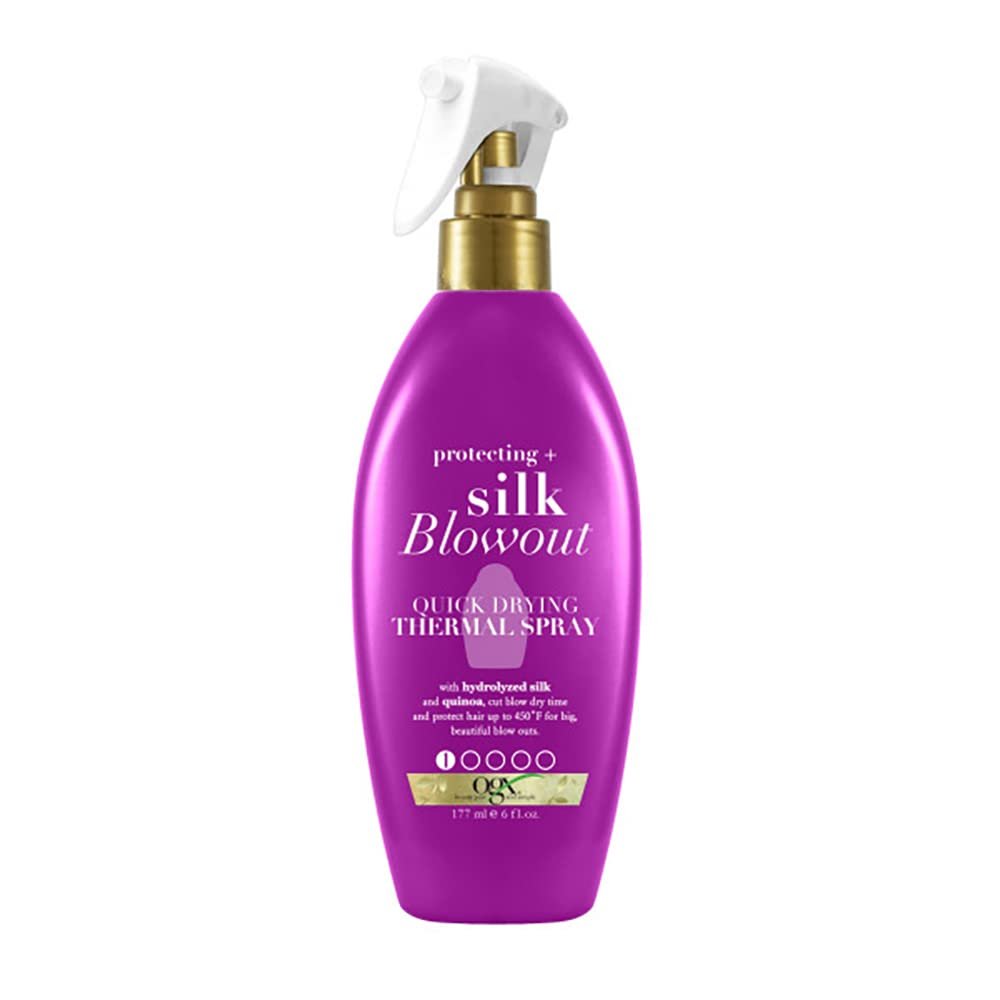
Now it’s time to prep your hair for heat styling. This step is also all about the products you use. You want hydration in products but also one that will already give you a silkening look after blowdrying. The following products allow me to save time on blowdrying and protect my hair from the direct heat.
3. Blow Dry Your Hair The Right Way
This is a step people tend to rush through and because of it, the silk press will not turn out the best. Take your time and blow dry in small sections. Using a blow dryer with a concentrator nozzle attachment, gently stretch your hair as you blow-dry it on a medium heat setting. Aim the nozzle downward to encourage smoothness and minimize frizz. For added tension and sleekness, consider using a paddle brush or tension comb to guide the hair as you blow-dry. The tension method when blow drying is also a favorite amongst naturalists as it can help cut the time in half, then blow dry again with a comb attachment.
4. Picking the Flat Iron
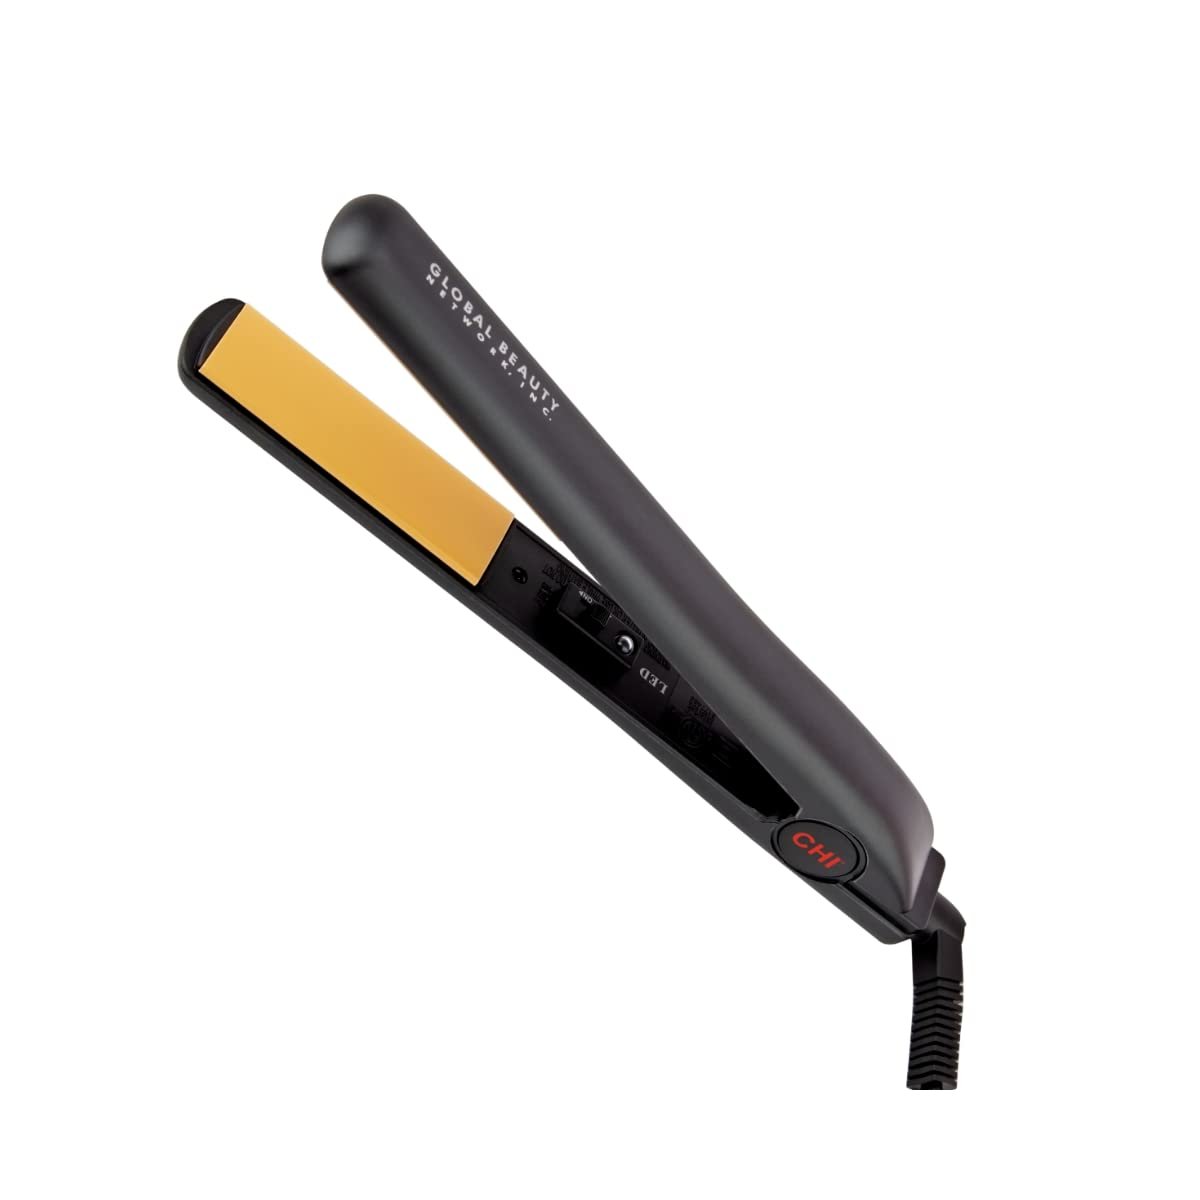
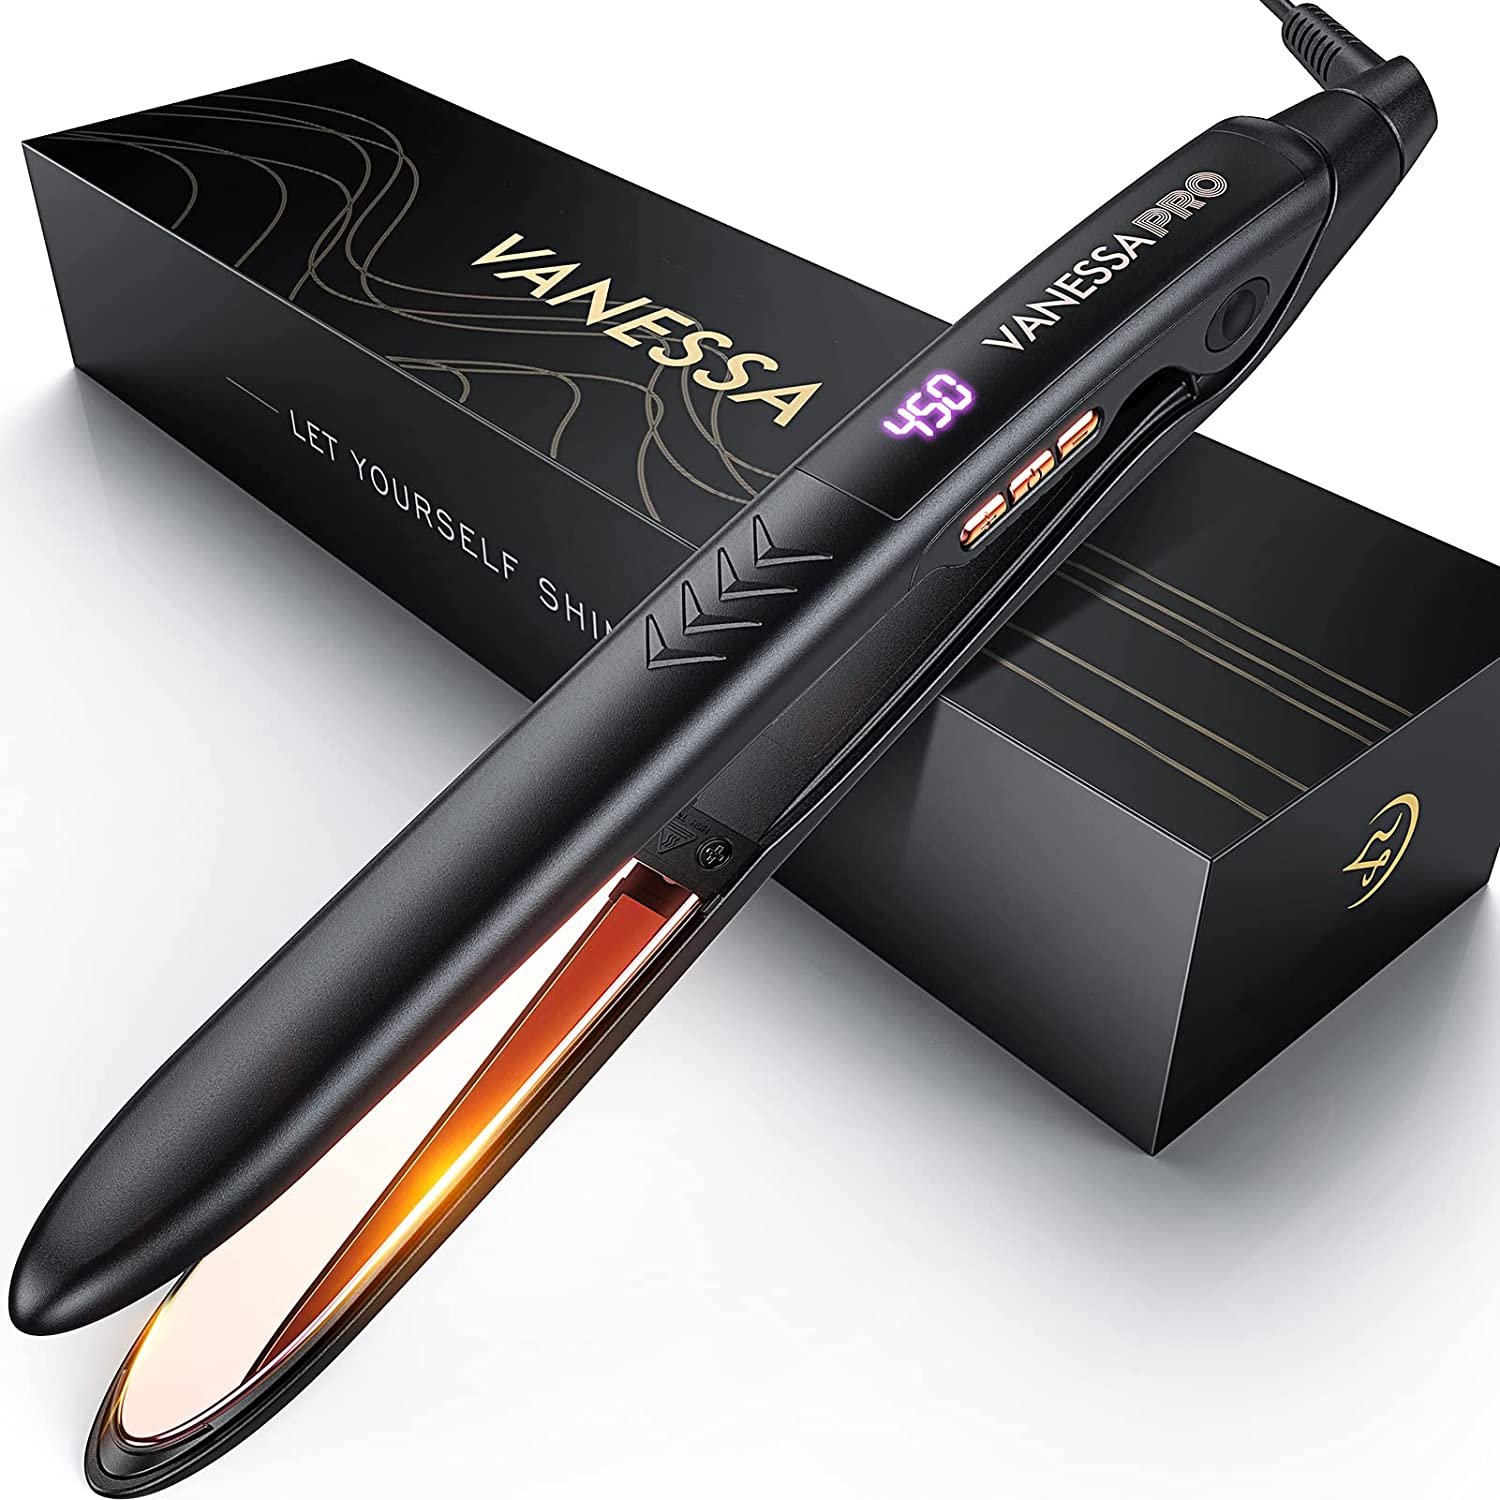
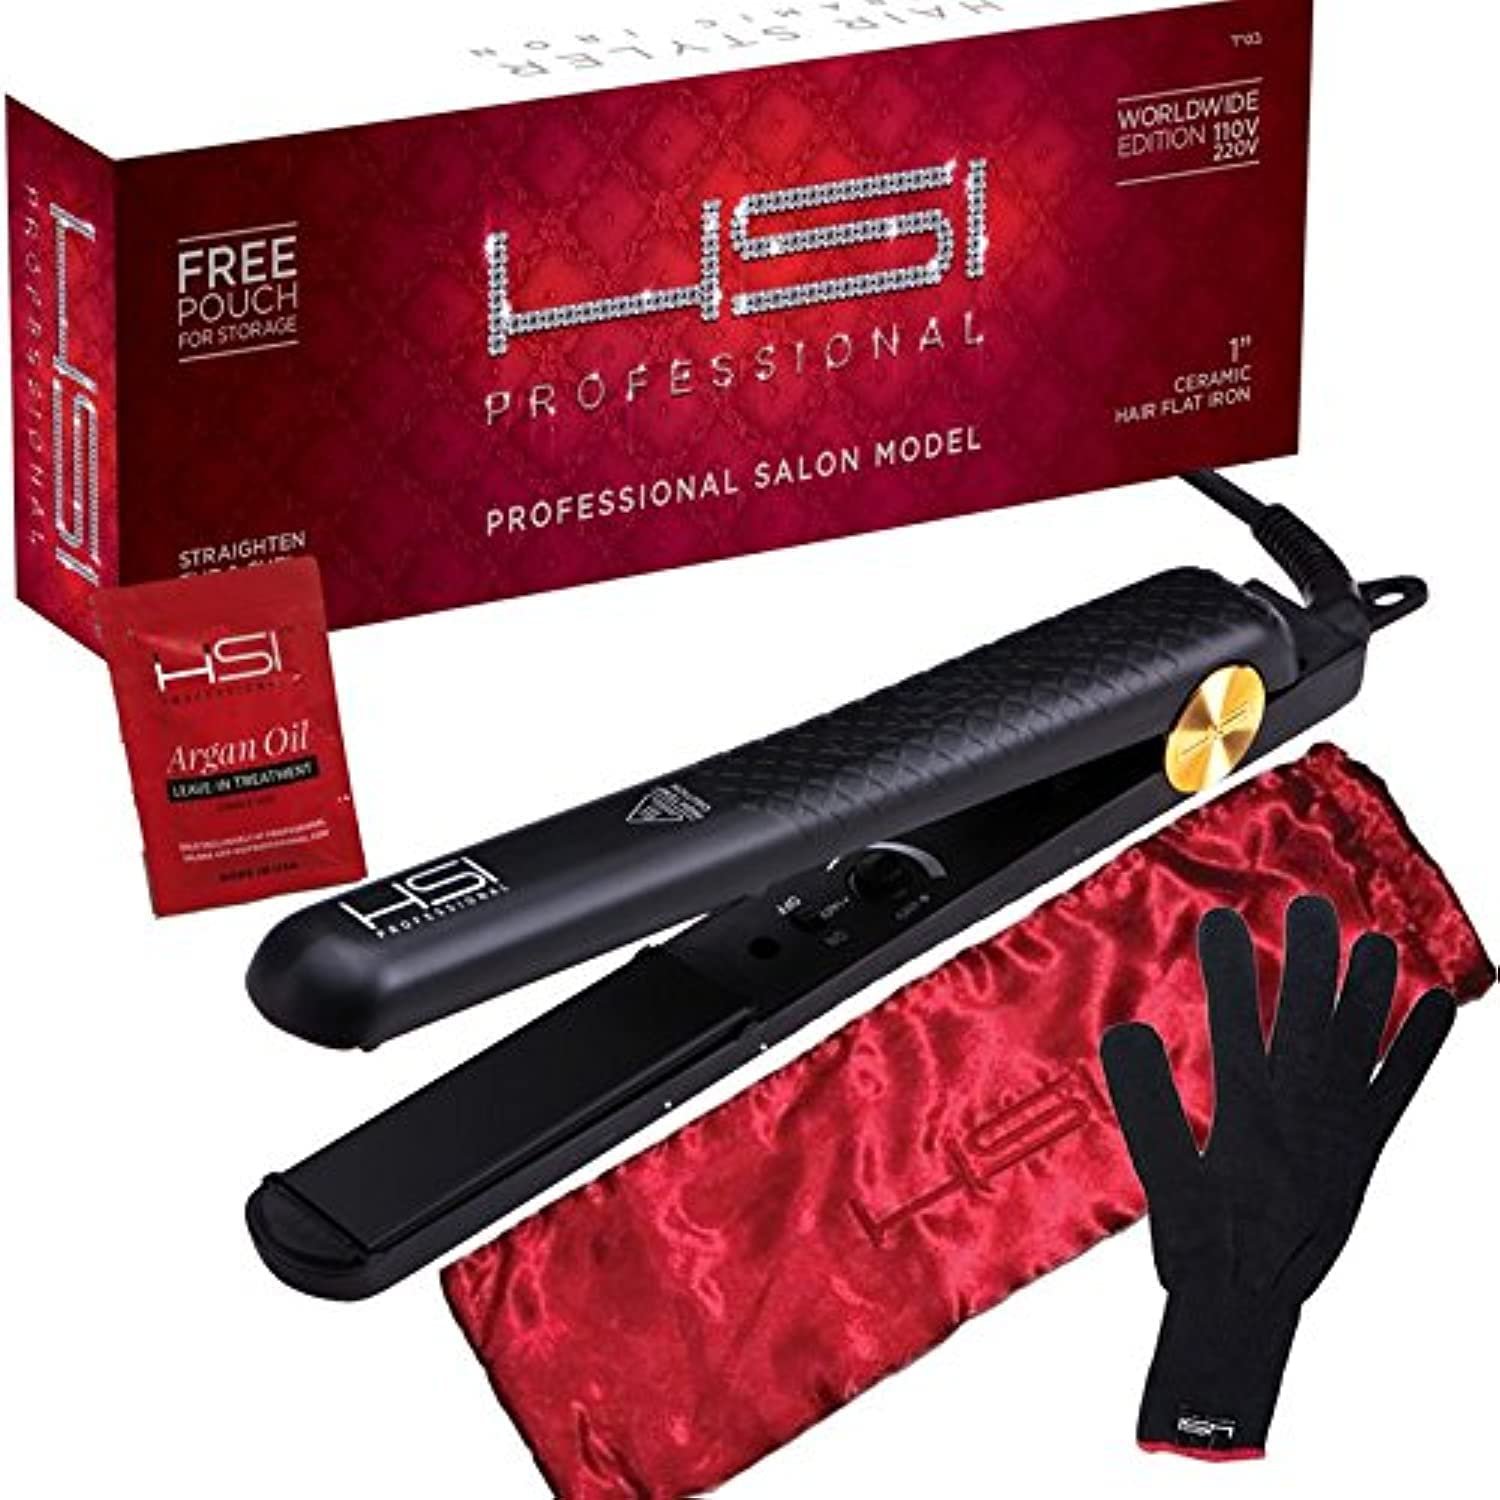
Working one section at a time, use a high-quality flat iron with adjustable temperature settings to straighten your hair. Begin at the roots and slowly glide the flat iron down the length of each section, applying even pressure for smooth, uniform results. Take care not to clamp the flat iron too tightly, as this can cause unnecessary tension and potential damage to your hair.
Using the best flat iron will also prevent you from needing to pass through a section more than two times.
5. Straighten Your Hair
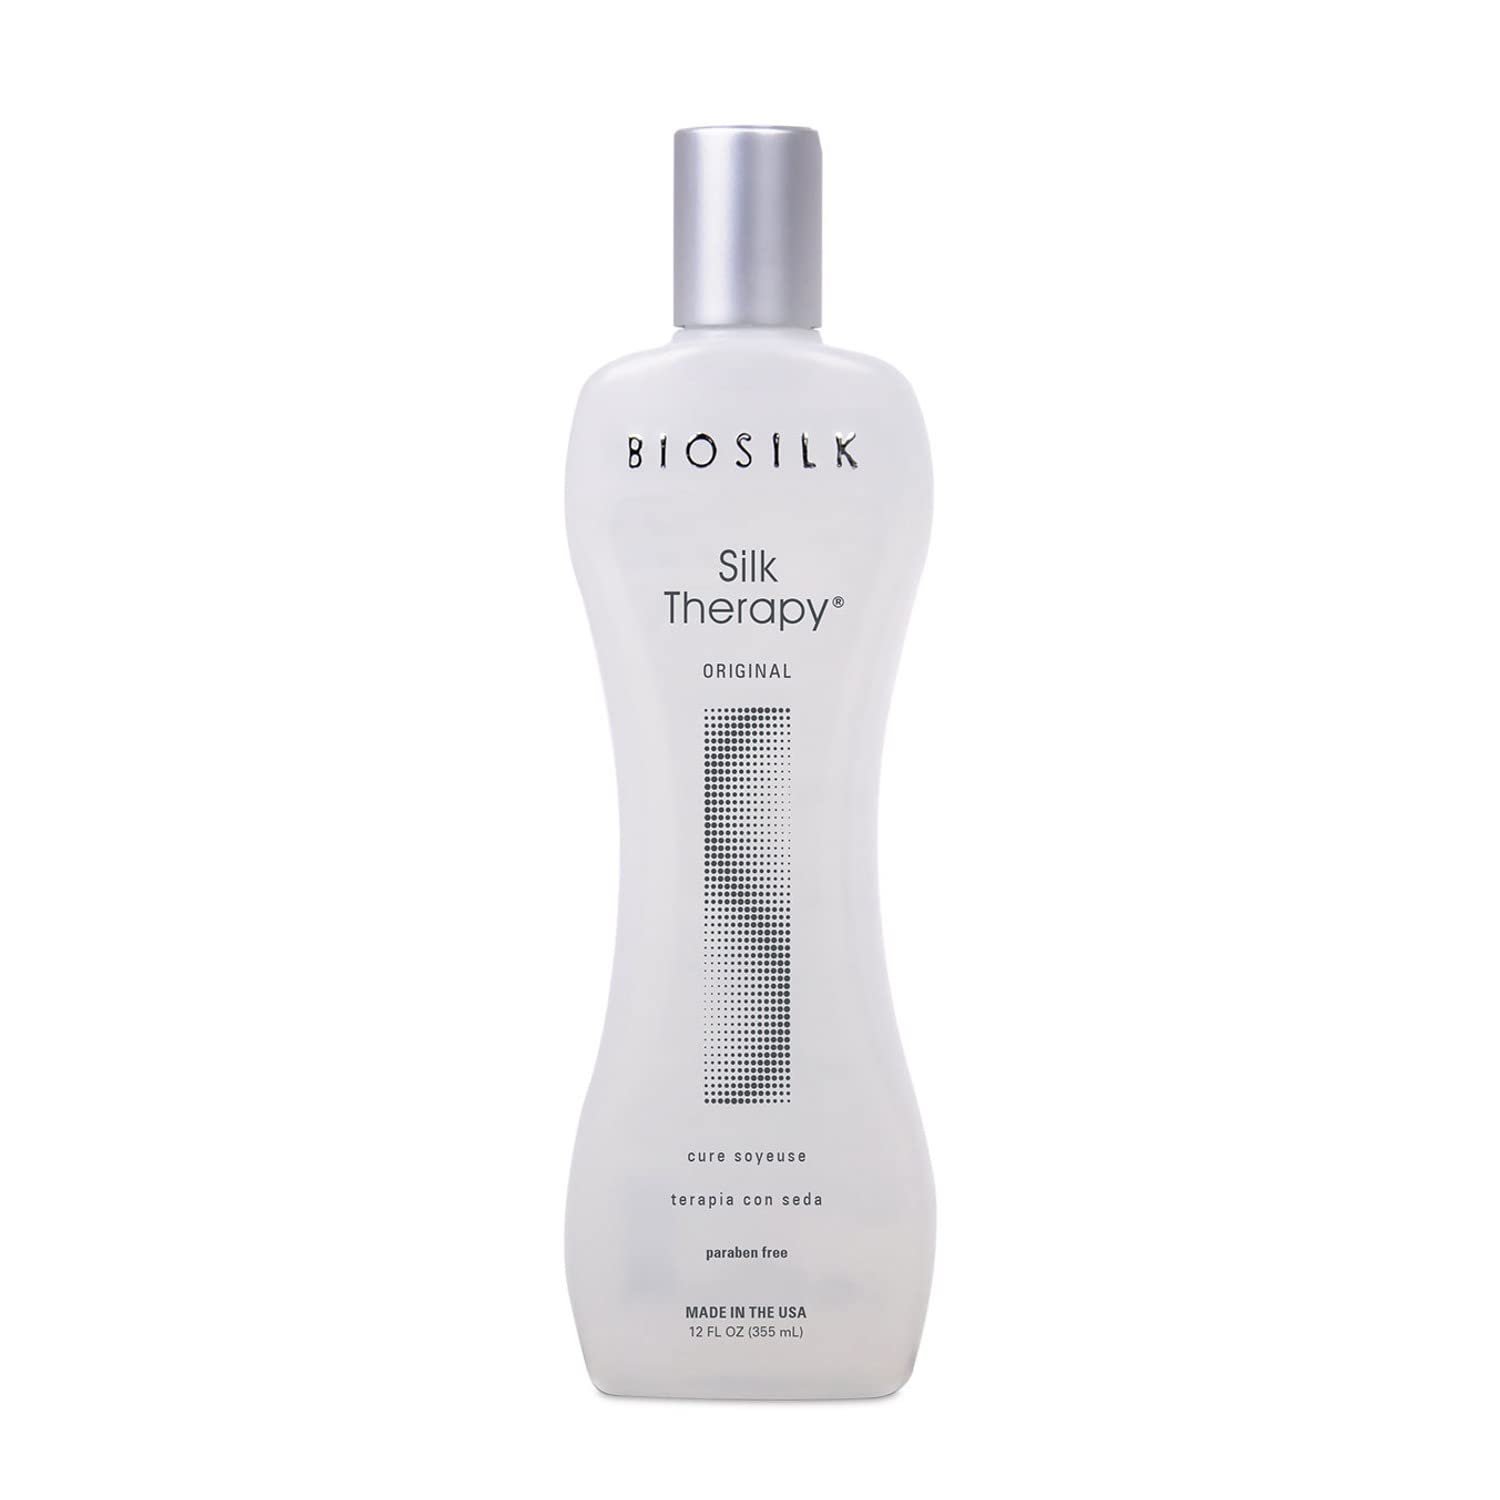
Before you start, make sure you use a high-quality heat protectant like the CHI Keratin Mist, Biosilk Silk Therapy Thermal Shield, or the Design Essentials Professional Grade Silk Essentials Heat Protectant Strengthening Serum.
The first pass with a flat iron I like to “chase” my hair with a rat-tailed comb slowly. Then, the second pass will be just the flat iron but not as slow. Once you’re done, you’ll want to finish with a light sheen spray.
6. Add Shine
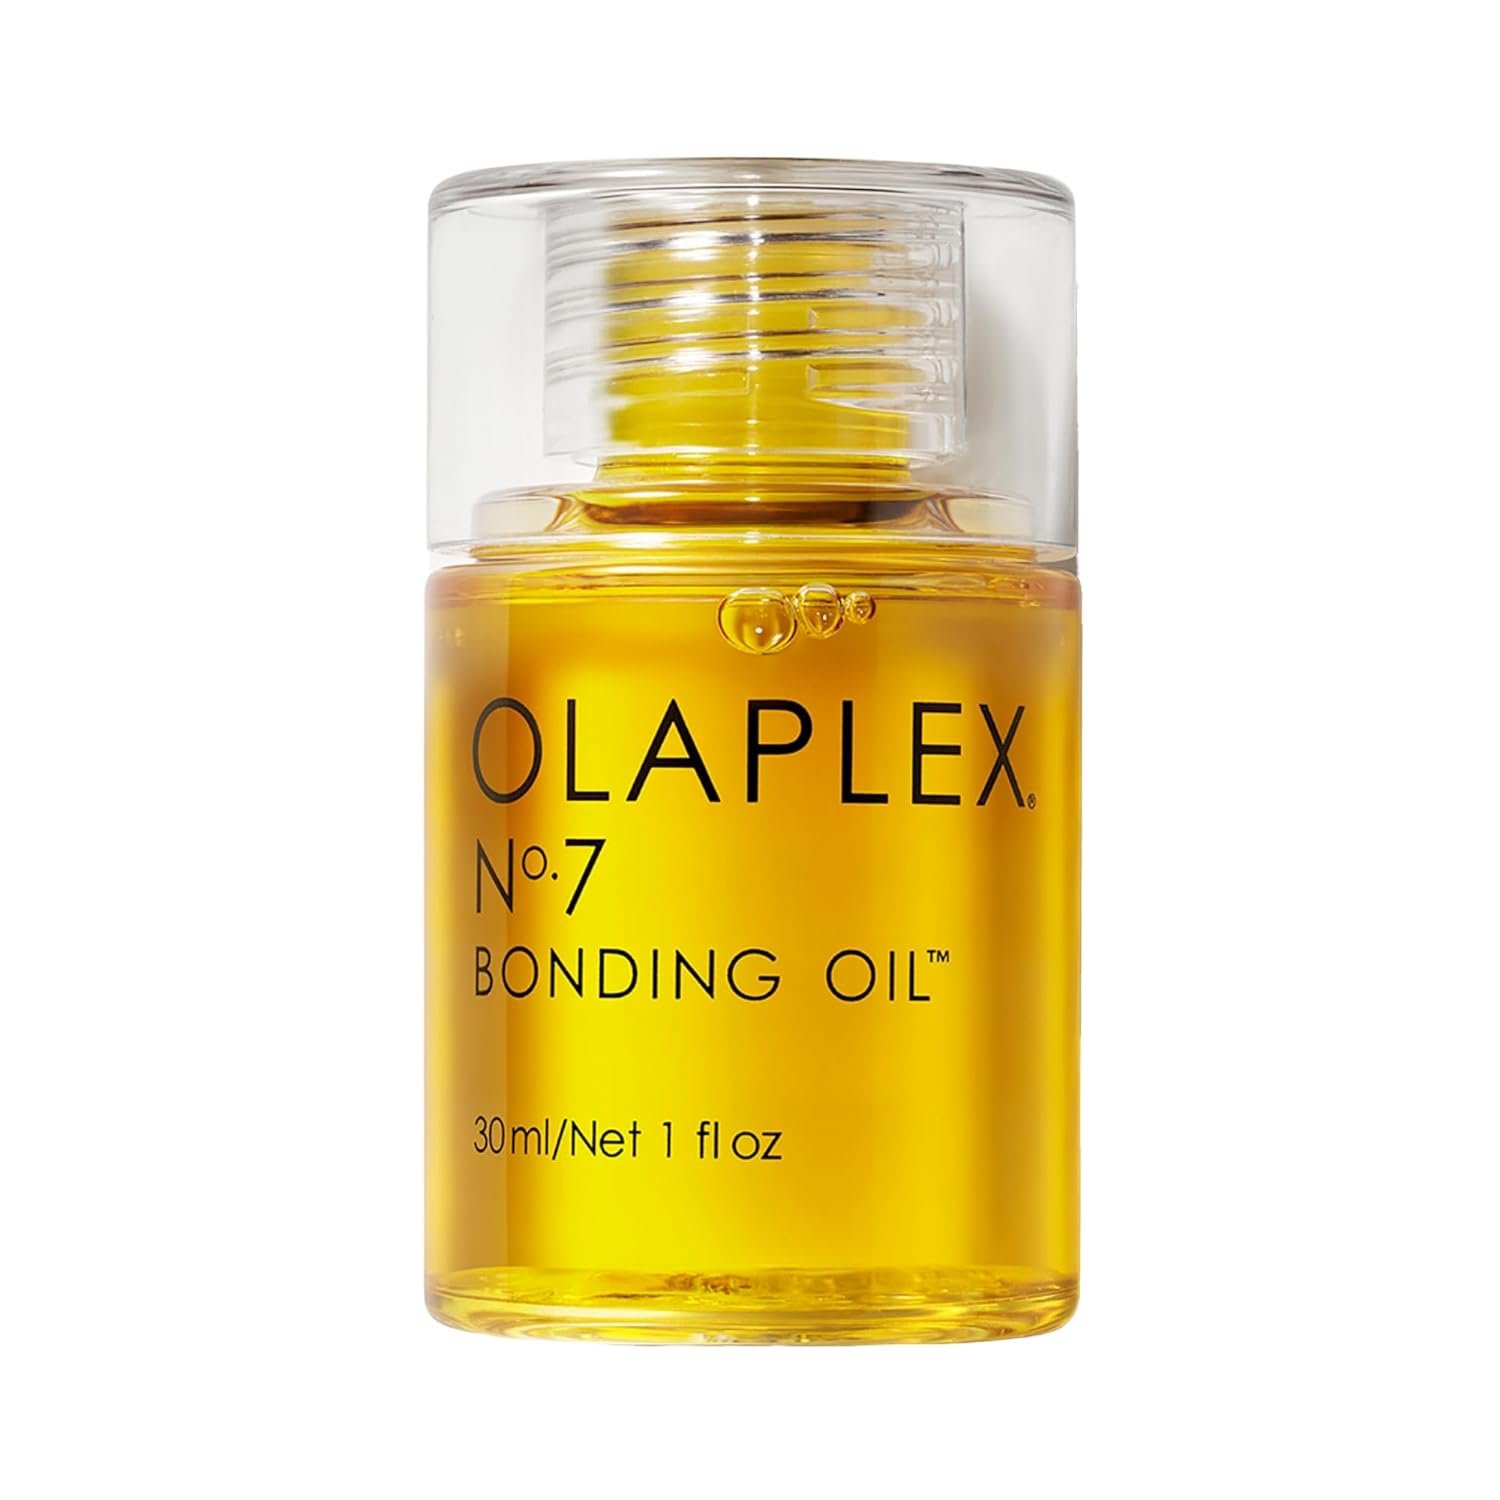
Once you've completed the silk press process, an option to improve the appearance of your hair is to enhance the overall luster and shine of your hair by applying a lightweight hair oil or serum. This will help to seal the cuticle and add a glossy finish to your sleek, straightened strands.
7. Maintenance
So you just put a lot of effort into your at-home silk press, what now? Now it’s all about preserving your work. To prolong the life of your silk press and keep your hair looking fabulous, it’s important to wrap your hair every night with a silk or satin scarf or bonnet to protect it from friction and moisture loss.
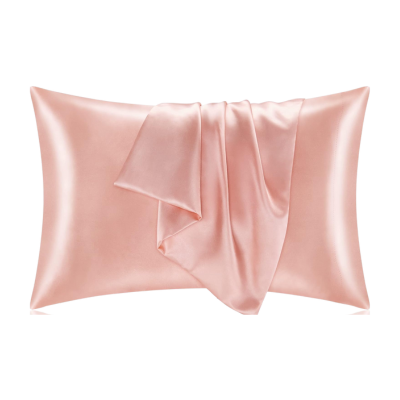
I like to wear two shower caps in the shower, while my hair is already wrapped and sleep on a satin pillowcase. If you do go to the gym, make sure you wrap your hair with the gymwrap or this dupe found on Amazon. Once your silk press starts to get old, these pins will work perfectly for pin curls.



Hey Everyone!
I’m Chenise J, a part-time, self-made, traveler who’s been to over 17 Countries! I created this life of traveling and maintaining healthy natural hair completely on my own, and my goal is to give you as much information and inspiration as possible to make travel happen for you too!
If you have a question about a post, please leave me a comment or on my Instagram – @globetrottercurls
Thanks for following along on my adventures!